
After a collision, thoroughly inspect CV joints for signs of wear, misalignment, or structural failure using visual exams and diagnostic codes. For complex cases or serious damage, consult professional mechanics for CV joint repair alongside fender repairs like paintless dent removal to ensure optimal vehicle performance and safety. A thorough inspection determines if CV joint replacement or rebuilding is needed, with quality parts and experienced technicians ensuring safe and reliable restoration.
After a car collision, proper CV joint repair is crucial for safe and efficient vehicle operation. This article guides you through best practices for CV joint repair post-collisions, focusing on understanding these critical components and their functions, inspecting and assessing damage, and exploring effective repair options. By following the step-by-step guide and recommended practices, ensure optimal restoration of your car’s crucial CV joints, enhancing safety and performance. Learn about CV joint inspection collision techniques for informed decision-making.
- Understanding CV Joints and Their Function After a Collision
- Step-by-Step Guide: Inspecting and Assessing CV Joint Damage
- Repair Options and Best Practices for Optimal CV Joint Restoration
Understanding CV Joints and Their Function After a Collision
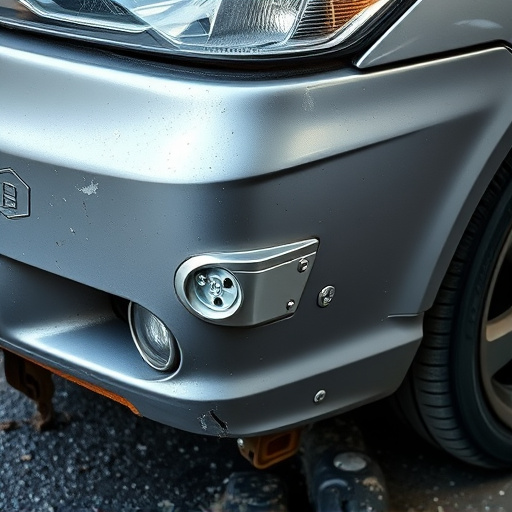
After a collision, it’s crucial to understand that CV (Constant Velocity) joints play a vital role in your vehicle’s drive system. These joints are responsible for transmitting power from the transmission to the wheels, enabling smooth and efficient corner turning. During a crash, however, CV joints can sustain damage, leading to reduced performance or even failure. Therefore, proper CV joint inspection becomes an essential step after any collision.
When assessing the state of your CV joints post-collision, look for signs of wear, damage, or misalignment. A thorough inspection should include visually examining the joint for cracks, breaks, or loose components. Some modern vehicles may also have sensors that indicate a problem with the CV joint, so checking the vehicle’s diagnostic codes can provide valuable insights. Given the complex nature of these joints, it’s often recommended to consult professional mechanics or body shop services specializing in repairs, especially when considering options like paintless dent repair for the fender alongside CV joint replacement to ensure optimal vehicle performance and safety.
Step-by-Step Guide: Inspecting and Assessing CV Joint Damage
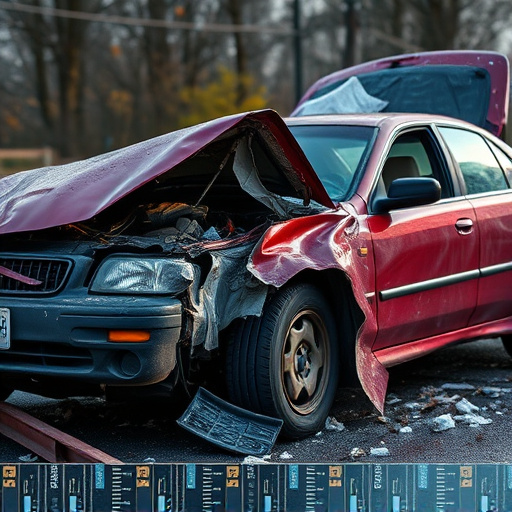
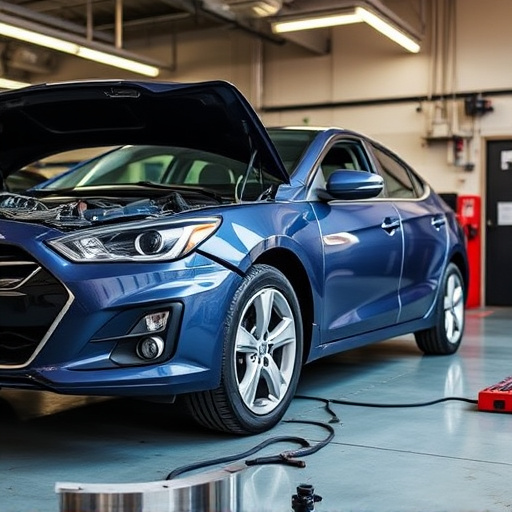
After a collision, inspecting and assessing CV joint damage is crucial for safe and effective vehicle restoration. Begin by lifting the vehicle securely using jack stands to gain access to the undercarriage. Carefully inspect the CV joints visually for any signs of damage, such as cracks, debris, or misalignment. Use a flashlight and magnifying glass if needed to detect even the smallest anomalies.
Next, perform a functional test by manually turning the steering wheel while observing the CV joint’s response. Look for unusual noise, excessive play, or resistance in the joint’s movement. Additionally, consult your vehicle’s service manual for specific inspection procedures relevant to your make and model. If damage is suspected, it’s advisable to involve professional auto body repair experts who can accurately diagnose and address any issues with precision auto body work and, if necessary, facilitate CV joint replacement or repairs, ensuring both the safety and reliability of your vehicle after a collision.
Repair Options and Best Practices for Optimal CV Joint Restoration
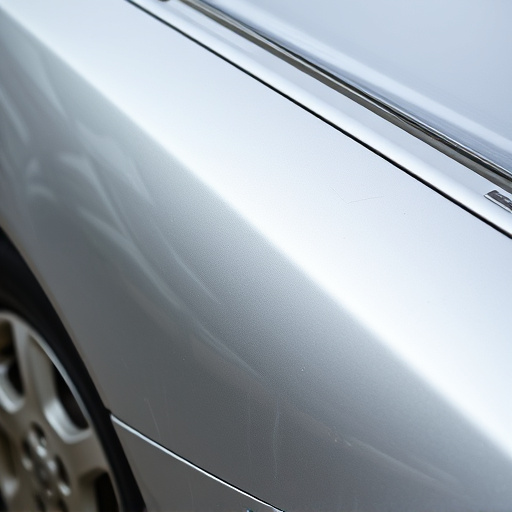
When considering CV joint repair after a collision, it’s crucial to understand the various options available for optimal restoration. The first step is a thorough CV joint inspection to assess the extent of damage. This involves visually examining the joint for any visible wear, tear, or misalignment. Specialized tools may also be used to check for internal damage and ensure all components are in good condition. Depending on the severity of the collision, repair can range from replacing individual CV joint parts to a complete joint replacement.
For effective vehicle restoration, choosing the right repair method is essential. In some cases, minor misalignments or damaged bearings can be repaired or rebuilt, extending the life of the CV joint. However, if there’s significant damage or evidence of excessive wear, a full replacement might be necessary. Following best practices ensures not only the functionality and longevity of the CV joint but also enhances overall vehicle safety. This includes using high-quality replacement parts, adhering to manufacturer guidelines, and seeking experienced technicians who specialize in both auto glass repair and auto dent repair alongside complex transmission components like the CV joint.
When it comes to CV joint repair after collisions, a thorough understanding of these critical components and their functions is key. By following a structured approach that includes meticulous CV joint inspection and assessment, you can effectively determine the best repair options for optimal restoration. Remember, prompt action and professional guidance are essential in ensuring your vehicle’s safety and performance after a collision.