

After a road accident, a meticulous CV joint inspection is vital for vehicle safety and identifying potential issues. Look for unusual noises, grease leaks, or visible damage to joints and boots, as these are common signs of CV joint wear. Conducting regular inspections prevents costly auto body shop repairs and ensures optimal vehicle stability and handling. Swift action on warning signs is crucial to avoid future complications.
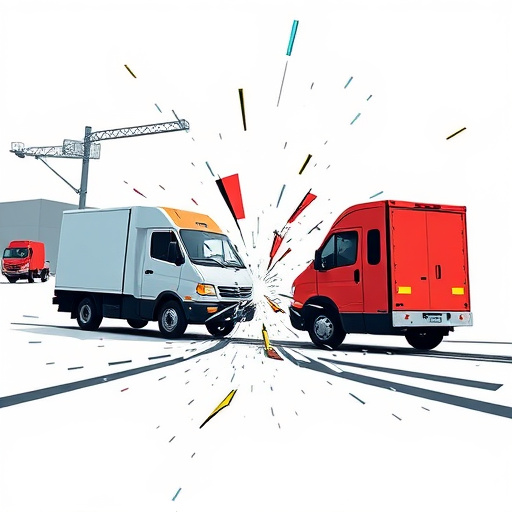
In the aftermath of road accidents, performing a thorough CV axle inspection is crucial for vehicle safety. The constant rotation of CV (Constant Velocity) joints ensures smooth handling and stability, making them vital components to assess post-collision. This guide delves into understanding these joints, offering a step-by-step inspection process, and highlighting common signs of damage that necessitate replacement. By following this comprehensive manual, you’ll be equipped to navigate the CV joint inspection collision process effectively.
- Understanding CV Joints and Their Role in Vehicle Safety
- Step-by-Step Guide to Conducting a Post-Collision CV Axle Inspection
- Common Signs of CV Joint Damage and When to Replace Them
Understanding CV Joints and Their Role in Vehicle Safety
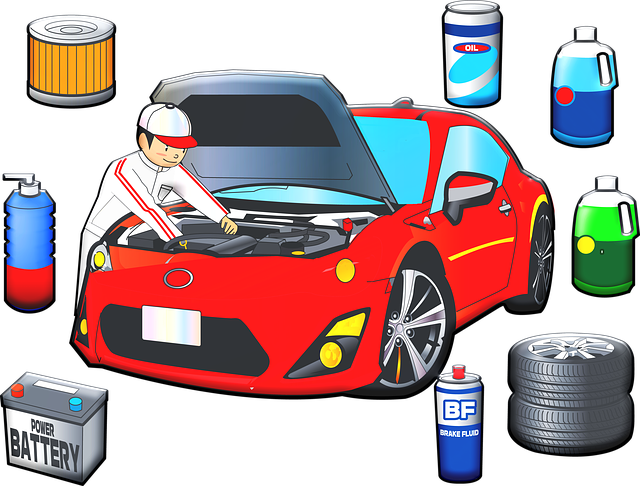
CV joints play a pivotal role in a vehicle’s safety, especially during and after road accidents. These crucial components connect the wheels to the transmission system, facilitating smooth power transfer and enabling cornering and steering control. During a collision, the forces experienced by the CV joint can be immense, and understanding their design and functionality is essential for thorough post-accident assessments. A meticulous CV joint inspection process is vital in determining if these joints have sustained damage, as proper functioning ensures optimal vehicle stability and handling.
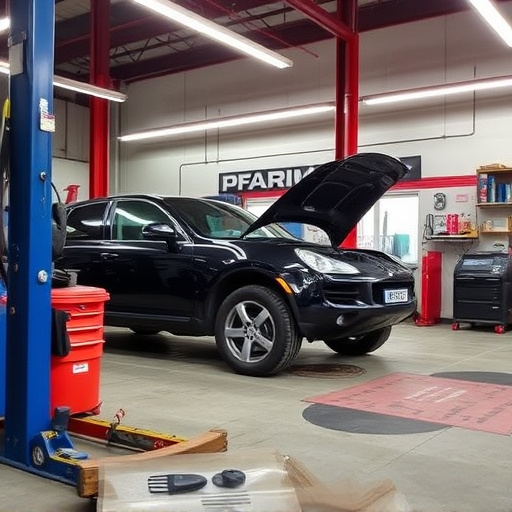
In the event of a road accident, a comprehensive evaluation of the CV joint’s integrity is necessary before proceeding with any car damage repair or vehicle repair tasks at an auto body shop. By examining the condition of these joints, mechanics can uncover potential issues that might have been caused by the collision, ensuring that no latent problems go unnoticed. Regular CV joint inspection protocols are not just a safety measure but also a strategic step in preventing more severe and costly auto body shop repairs down the line.
Step-by-Step Guide to Conducting a Post-Collision CV Axle Inspection
Conducting a thorough CV axle inspection after a road accident is crucial for ensuring vehicle safety and identifying potential issues. Here’s a step-by-step guide to help you navigate this process efficiently:
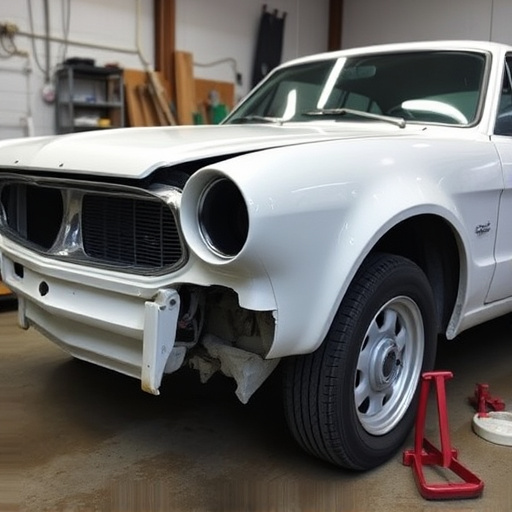
1. Safety First: Begin by assessing the overall damage to your vehicle, prioritizing safety. Ensure the area is secure and clear of traffic before proceeding. With the engine off, locate the CV axles—they’re typically at the ends of the drive shafts, connected to the wheels.
2. Visual Inspection: Carefully inspect the CV joints for any visible signs of damage, including cracks, fractures, or excessive wear. Check for grease seepage or leaks, which might indicate internal damage. Examine the boot seals for tears or damage, as these protect the joint from debris and moisture. If you notice any significant issues, consult a professional mechanic for further evaluation.
3. Check for Play: Lift each wheel and wiggle it slightly to check for excessive play in the CV joints. A normal joint should have minimal movement. Excessive play could suggest damage or misalignment requiring professional attention.
4. Tire Services & Bumper Repair: If the accident caused tire damage or bumper misalignment, these issues should be addressed alongside the CV axle inspection. Proper alignment and tire services contribute to overall vehicle stability and safety.
5. Test Drive (if safe): After initial inspections, take a short test drive to assess the vehicle’s performance. Listen for unusual noises and feel for vibrations that could point to problems with the CV axles or related components.
6. Document Findings: Keep detailed records of your inspection, noting any issues discovered. This documentation will be valuable if repairs are required, especially when claiming insurance or seeking vehicle restoration services.
Common Signs of CV Joint Damage and When to Replace Them

After a road accident, one of the crucial steps in a thorough CV axle inspection is identifying common signs of CV joint damage. These joints play a vital role in your vehicle’s steering and drive train, so any deterioration can have significant implications. Some telltale signs include unusual noise, such as squeaking or clicking noises, especially when turning or accelerating. This could indicate worn or damaged CV joints or boots. Another visual cue is the presence of grease or fluid leaks around the axle; any visible damage to the joint’s boot or seal requires immediate attention.
When performing an auto body inspection after a collision, it’s essential not to overlook potential CV joint issues. While some minor damages might be repairable through auto body work and car dent repair, severe cases may necessitate replacing the entire CV joint assembly. Regular maintenance and prompt attention to these warning signs can prevent further complications, ensuring your vehicle’s safety and performance.
In light of the above, conducting a thorough CV axle inspection after road accidents is crucial for ensuring vehicle safety. By understanding the role of CV joints in overall vehicle stability and following a systematic guide, drivers and mechanics alike can identify potential damage and make informed decisions regarding replacements. Remember that early detection through regular inspections can prevent serious issues and keep you and your passengers safe on the road.